
Roof-to-wall flashing repair, traced from the stain to the joint
Where a roof runs into a wall, the shingles stop and a row of bent metal pieces takes over. They are woven into the shingle courses and tucked behind the siding or into the brick. State Restoration Services repairs that joint across the north and northwest Chicago suburbs, and our own crews handle both the roofing and the siding along it.
These leaks usually show up as a stain a few feet away from where the water got in. So this page starts with what you see inside and works back to the piece on the roof.
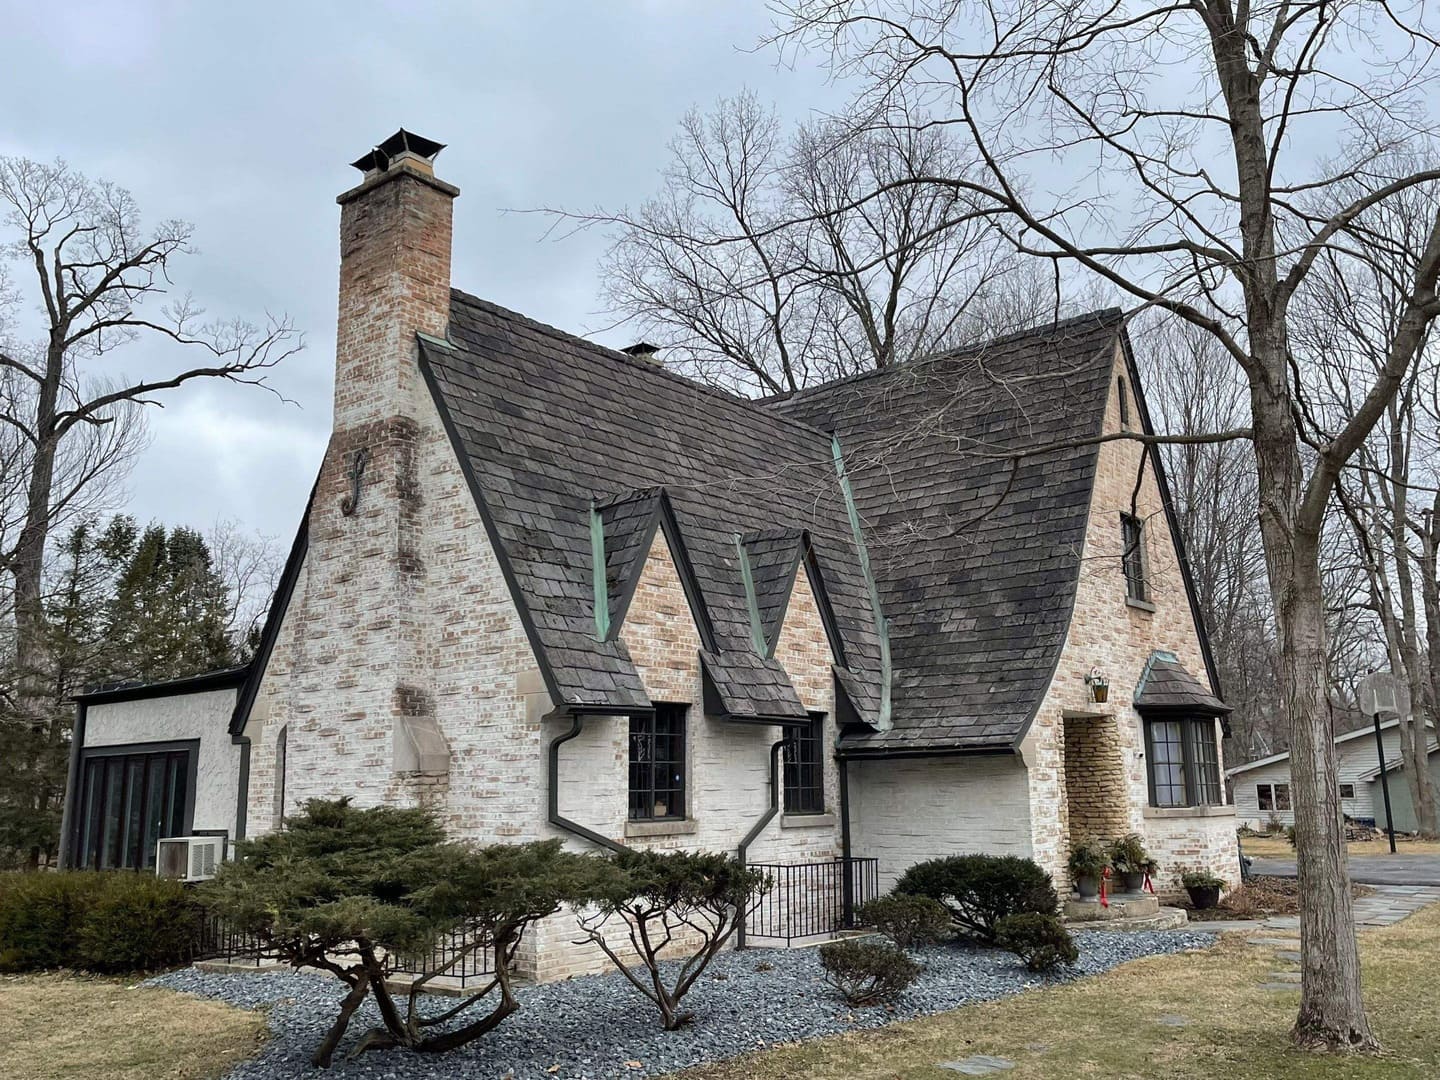
Four places a roof runs into a wall
Each one is closed with a different piece of metal, and each is opened a different way when it fails. Most houses here have at least two of them.
Side wall beside a sloped roof
A garage or porch roof climbing up beside a two-story wall. It is closed with step flashing: one bent piece per shingle course, with the siding lapped over its upright leg.
Wall above the top of a lower roof
The roof ends flat against a wall, like a porch roof under second-floor windows. One long apron flashing lies over the top shingle course and runs up behind the siding.
Brick, stone or stucco wall
Masonry cannot lap over metal, so a second piece, the counterflashing, is set into a mortar joint and folded down over the step pieces. It is the same method as our chimney flashing repair, run along a longer wall.
Dormer side walls
Each dormer has two short side walls, each its own small step-flashing run, plus an apron across the front. A house with four dormers has twelve of these joints to check.
Where the stain shows up inside, and which piece let the water in
Water that gets past wall flashing runs along the framing before it shows. The stain is usually lower than the leak and farther into the room. These are the patterns we trace back most often.
| What you see inside | The piece at fault | What we open first |
|---|---|---|
| A ceiling stain along an outside wall, under a lower roof | Step flashing that was never lapped under the house wrap, or pieces with their upright leg cut short | The siding along the joint, then the shingle courses beside the wall |
| A stain under a window that sits just above a porch roof | An apron that is too short, or siding run down onto the shingles so it soaks up water | The bottom course of siding and the apron under it |
| Damp drywall where the garage meets the house | No kickout at the bottom of the joint, so the roof edge sends water into the wall | The last few feet of shingles and siding at that corner |
| Wet spots only in wind-driven rain from one side | Counterflashing on a brick wall pulled out of its mortar joint, or a split bead of caulk standing in for it | The mortar line above the roof |
| A stain around a dormer window, worse after snow | Dormer step pieces lifted by ice, or an apron buried under packed snow | The dormer side walls and the front apron |
One rainstorm down a side wall
Every layer at this joint is lapped so water lands on top of the next layer down and never behind it. Follow one storm from the top of the wall to the gutter and the weak spots show themselves.
- 1
Down the face of the wall
Rain runs down the siding. Whatever gets behind it is carried by the house wrap, and the wrap has to finish over the upright leg of the flashing, not tucked behind it.
- 2
Across the step pieces
Each piece sits on one shingle course and under the next, so the water steps from piece to piece down the slope. Fine Homebuilding's step flashing guide asks for every lap to be at least 2 inches. A piece bent flat during an old repair leaves a gap the next storm finds.
- 3
Under the shingles
Below the metal, a self-adhered membrane and the roof underlayment turned up the wall catch what wind pushes sideways. When we open a leaking joint, this layer is the first thing we look for.
- 4
Where the siding stops
The siding ends a little above the shingles. Siding run tight onto the roof wicks water into its bottom edge and holds leaves against the flashing.
- 5
At the bottom of the wall
If the wall keeps going below the roof edge, a kickout turns the last of the water into the gutter. Our kickout flashing guide covers that one corner in detail.
Why caulk keeps failing here
A bead of caulk where the siding meets the roof looks like a fix from the ground. The water is already behind the siding by then, above the bead, so the caulk never touches it.
The repair that lasts puts each layer back in its order: membrane, flashing, wrap, siding. That means opening the joint.
What a wall flashing repair visit includes
The work below is for one joint. A house with several leaking walls gets the same steps on each, priced wall by wall.
- We look at the stain inside and in the attic, then at the joint from the roof, and photograph both before anything comes off.
- The siding along the joint comes off far enough to see the house wrap. Sound vinyl panels are unhooked and reused, and damaged ones are matched and replaced the way our siding repair page describes.
- The shingle courses beside the wall come up, and the old step pieces come out with them.
- Wet or soft sheathing at the joint is cut out and replaced. That part is priced after it is opened and photographed, never guessed at beforehand.
- Membrane goes onto the deck and up the wall, then new step flashing course by course, with an apron or kickout where the joint needs one.
- The house wrap is lapped back over the flashing, and the siding goes back with its bottom edge held off the shingles.
Our price range for new step, valley or counter flashing as a repair. The length of the joint, the wall material and what turns up behind it move the number.
The range comes from our guide to roof flashing leaks.
Repair the joint now, or wait for the new roof?
New flashing is woven into the shingles, so it lasts only as long as the courses around it. That decides the timing.
Repair it now when
- the roof still has good years left and the leak is at one wall
- the stain is growing or the drywall has gone soft
- the siding on that wall is coming off anyway for a repair or new siding
Do it with the roof replacement when
- the shingles are near the end of their life and new flashing would go into courses that come off within a few years
- several joints and the open field of the roof are failing together
- a small patch can hold the joint for the months until the new roof goes on
Our roof repair page shows how we make the repair or replace call for the rest of the roof.
When a storm bent the flashing
Wind can peel step pieces and aprons loose, and hail dents and splits the folded edge of soft aluminum flashing. Damage from a covered storm can be part of a roof claim. A joint that leaked because it was built wrong or wore out is usually treated differently by the policy.
We photograph and measure the damaged pieces and write a code-compliant estimate for the work. Illinois law does not let a roofer negotiate a claim, so our partner, the licensed Illinois public adjuster State Adjusting Services, can represent you on the claim itself. The insurer decides what it pays. Our storm and insurance page explains how the two fit together, and if the gutter at that wall took a hit too, our gutter repair page covers it.
Questions owners ask about roof-to-wall leaks
Can wall flashing be fixed without replacing the roof?
Yes. Only the shingle courses beside the wall and the siding above them come off, new flashing goes in, and both go back. Matching the shingles is easiest when the existing roof is not too old.
Why does the leak keep coming back after it was caulked?
The water usually gets in behind the siding, above the bead, and runs down behind the metal, so caulk on the outside never meets it. The lasting fix relaps the membrane, flashing, house wrap and siding so each layer sheds onto the next.
Do you have to remove siding to repair step flashing?
Yes, along the joint. The upright leg of each step piece sits behind the siding and the house wrap, so it cannot be replaced or lapped correctly from outside. We take off only the courses needed and put sound panels back.
How much does roof-to-wall flashing repair cost?
New step, valley or counter flashing as a repair runs roughly $300 to $1,200 on our price list. Rotten sheathing found behind the siding is extra and is quoted after it is opened and photographed.
Want this looked at?
We inspect for free, document what we find and prepare a code-compliant estimate you can hand to your insurer. Our partner, a licensed public adjuster, State Adjusting Services, can represent you on the claim.
Call (866) 992-2982. Free Inspection